The Solar Installation Process: What Happens From Quote to Switch-On

Short answer: a typical home solar installation moves through six stages: assessment, design and quote, approvals, installation day, inspection and connection, and handover. The physical installation is often the quickest part. Paperwork, network approval and meter changes can take longer, so it helps to know what each stage involves.
1. Energy and site assessment
A good installer starts by understanding how much electricity you use and when. Expect questions about your bills, household routine and future plans such as a battery or electric vehicle. The site assessment covers roof orientation, pitch, shading, roof material, the condition of your switchboard and where the inverter can be mounted safely.
2. Design and quote
The design sets out the number and type of panels, the inverter, the array layout and the expected output. A clear quote should list:
- panel and inverter brands and model numbers
- system size in kW and any battery’s usable capacity
- each incentive as a separate line
- warranties for products and workmanship
- any extra costs such as switchboard upgrades or tilt frames
3. Approvals and applications
Before installation, your installer usually applies to your electricity distributor for approval to connect the system. If you are applying for Solar Victoria’s solar panel rebate, you need eligibility approval before the system goes in. New and replacement systems in Victoria must also be emergency backstop enabled, which generally means a compatible inverter and an internet connection at the property.
4. Installation day
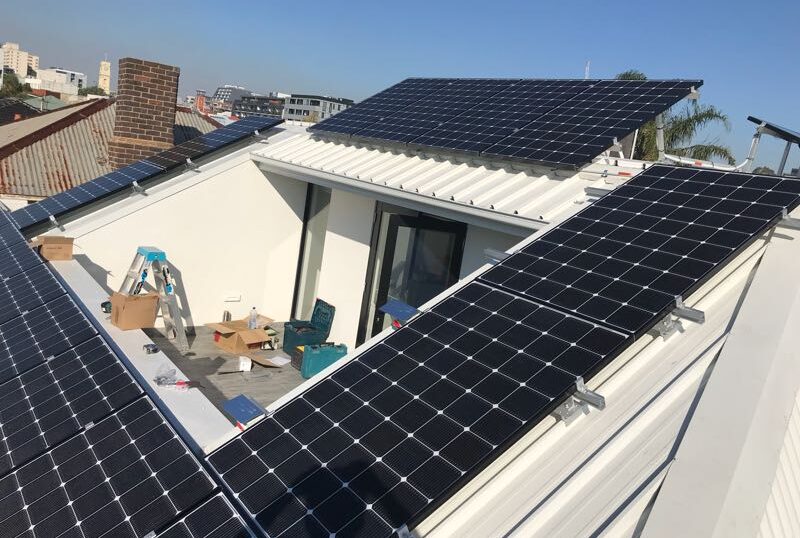
For many homes, panels and inverter are installed in a single day. The work includes fitting the mounting rails, placing the panels, running DC cabling, installing the inverter and isolators, and connecting to the switchboard. Under the federal scheme, the accredited installer must attend the site at key stages of the job, including set-up, mid-installation and testing.
5. Testing, compliance and connection
After installation, the electrician tests the system and issues a certificate of electrical safety. Your meter may need to be reconfigured or replaced to record exports, and your retailer will need to update your plan. Until this is done, the system may be limited in what it can export.
6. Handover and monitoring
At handover you should receive documentation, warranty details, a shutdown procedure and help setting up the monitoring app. Ask the installer to show you what normal production looks like so you can spot problems later.
How long does it take overall?
Timeframes vary with network approvals, rebate applications and product availability. Ask your installer for an expected timeline at quote stage and how they will keep you updated.
Frequently asked questions
Do I need to be home on installation day?
Usually someone needs to provide access and be available for a walk-through at the end. Confirm the arrangement with your installer.
Will my power be off?
Power is normally switched off for part of the day while the system is connected to your switchboard.
Who handles the paperwork?
Most retailers manage network applications and STC paperwork. Rebate eligibility with Solar Victoria starts with your own application through its portal.
Next steps
Find out how we approach solar panel installation, compare common installation packages, read how to size a system, or book an assessment.
Sources
- Clean Energy Regulator – Rooftop solar installers and designers (checked 29 Oct 2026)
- Solar Victoria – Solar panel rebate (checked 29 Oct 2026)
- Energy Victoria – Emergency backstop mechanism (checked 29 Oct 2026)